


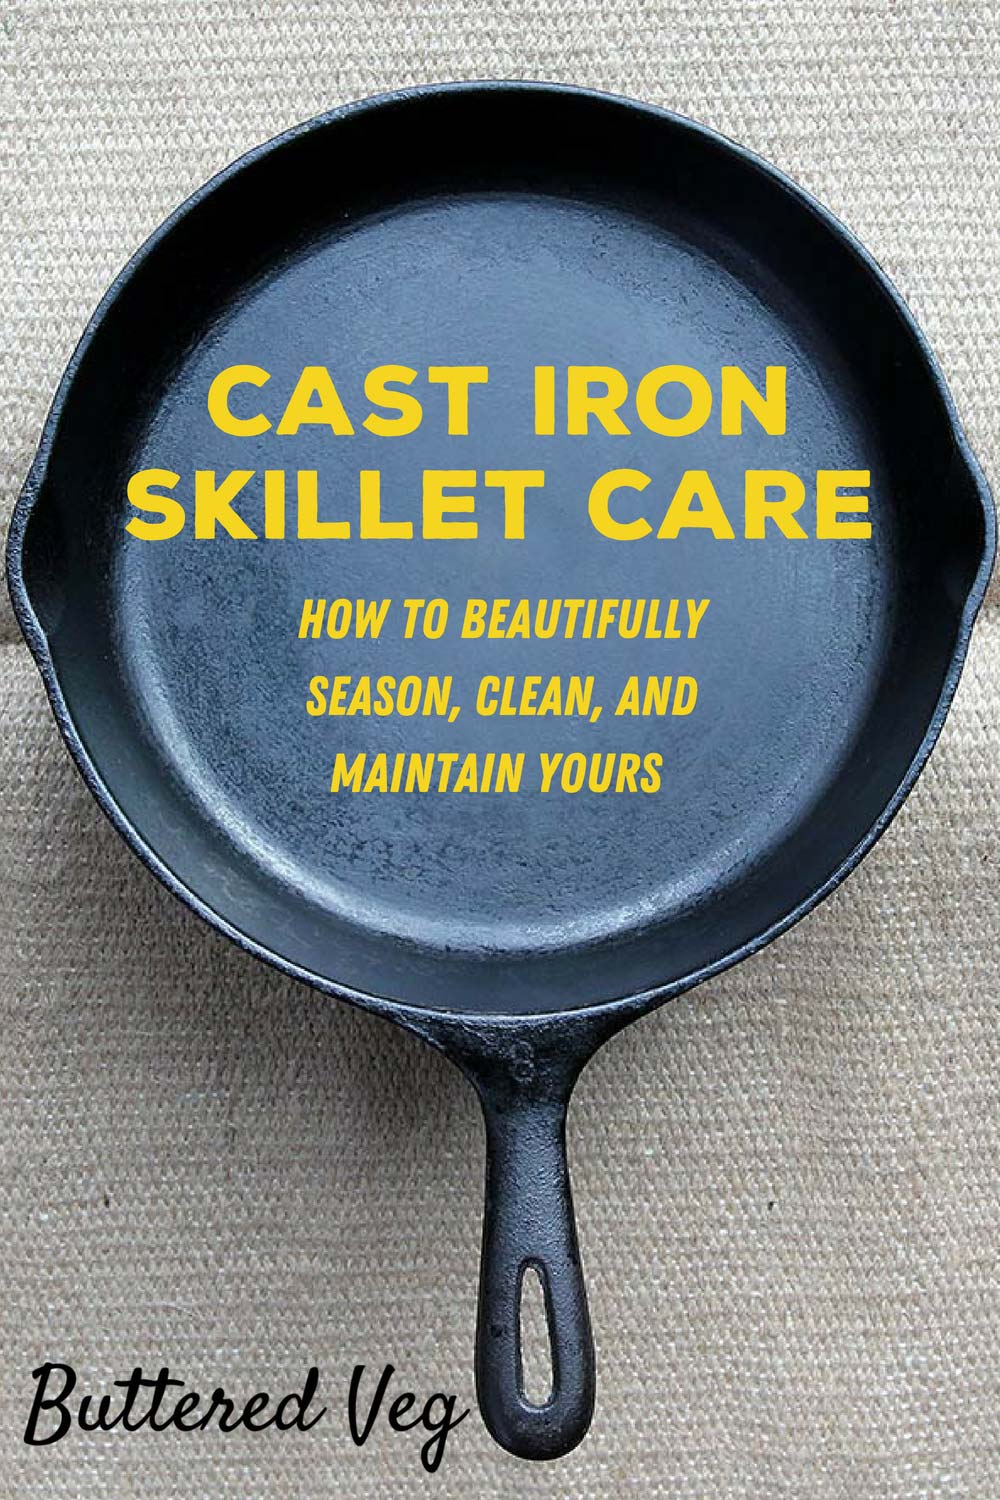
If you are anything like me, you own many skillets, from cast iron skillets to ceramics, to non-stick. Why is it necessary to have so many? Because each one is the best for something.
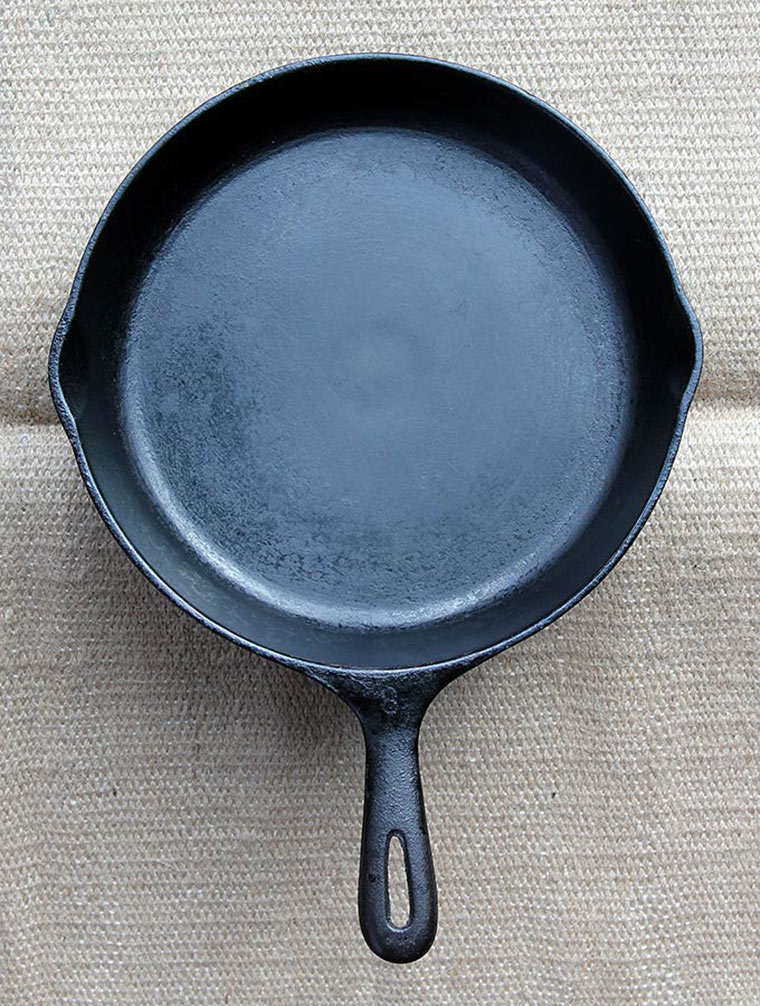
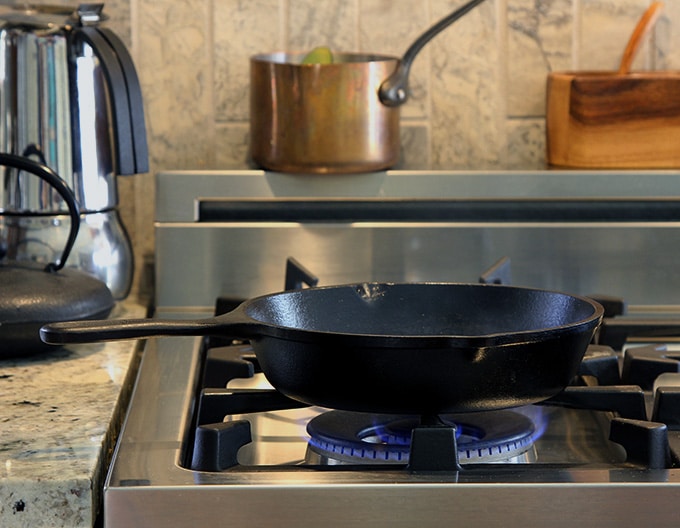
A cast iron skillet is the best for high-heat frying, searing, braising, and baking. With cast iron, you can start cooking with it on the stovetop, and then transfer it to the oven without worrying about wether the handle is oven safe. (It is.)
Cast iron is super durable. Unbreakable even. And affordable. You can buy a good one for about $20.
Cast iron is the best for so many uses, but a lot of people struggle to clean, season, and maintain their cast iron. Read on, and I will make it easy for you to achieve a beautiful shine on your skillet. You've got this!
And did I mention cast iron can be a thing of beauty? Since it is cast in a mold, there are no joints or rivets. It is black and classy, which is a rather modern aesthetic.
Cast iron skillets are built for fire, so you can use it on your BBQ, or place it right on the coals of an open pit fire. Their versatility is impressive.
Serious Cooks Cherish Their Cast Iron
Cooking with cast iron traces back over 2,000 years.
The material—which is an alloy made from iron mixed with tiny amounts of carbon, silicon, manganese, sulfur, and phosphorus—was revered for its ability to retain heat for long periods of time.
It was the perfect choice for cooking over fire, which was the only method our ancestors had available to them.
Cast iron remained popular until the 1960s, when teflon aluminum non-stick cookware took the market by storm.
Cooks embraced teflon because it was more convenient. It was lightweight. It didn’t require any maintenance, and things didn’t stick to it.
All was hunky dory with teflon, until people realized that the teflon coating was toxic to their health.
There are other alternatives out there, such as stainless steel, and the new ceramic coated skillets, but despite all the competition, cast iron still hasn’t lost its allure for serious cooks.
There is something to cherish about the elemental simplicity of using a cast iron skillet and taking care of it. Unfortunately, many people struggle with cast iron care.
Using cast iron ought to be a joy. This is why I am writing this post.
Caring For Cast Iron Is An Art
I personally feel that cast iron skillet care is more of an art than a science, and that this is the reason why people struggle with it, like my friend Kate.
She said she tried everything to salvage her skillet, from blasting it on high in the oven, to re-oiling it after each use, only to end up with a flaky, sticky mess of a thing that she finally threw out the back door. Oh no!
Oh yes! Caring for cast iron requires consistent attention to detail, and there is a lot of bad advice out there.
It feels good to take care of your tools. When you treat your cast iron well, it serves you back a hundred-fold.
A well cared for cast iron skillet can last over a hundred years, and easily become a family heirloom. How cool is that?
There really aren’t many treasures in the world like this anymore. All that cast iron asks of us is that we care for it.
Are you ready to get started? Below are some cleaning tools you could consider if it will make your life easier.
Some of the links on this page are affiliate links. If you choose to buy any recommended item, I will get a small commission at no extra cost to you.
How To Season Your Cast Iron Skillet The First Time
When you purchase a new cast iron pan these days, it will typically arrive pre-seasoned, but it is still recommended (and desirable) to season it further before using.
Seasoning refers to the process of producing a non-stick surface on your cast iron skillet.
It involves spreading a very thin coating of oil over the surface and heating it. As it heats, the fatty acids in the oil oxidize and reorganize (a process known as polymerization), resulting in a smoother cooking surface.
The more times you add a coating of oil and heat it, the thicker and more durable the surface becomes. This is the key to non-stick cast iron cooking. You can even cook eggs in it.
When you get the seasoning right, you should have a dark, semi-glossy finish that feels smooth and dry. There should be no dull or dry spots, or stickiness to it.
If your skillet is brand new, you are ready to begin. If your skillet is salvaged from a second-hand store, or it is a hand-me-down, and it doesn’t look good, refer to this post, and the section “Major Service,” for ways to clean it up.
To complete the initial seasoning process, you will need 4–6 hours, but most of that is passive.
Do it when there’s cooler weather, because your oven is going to be on for a long time, and it will get hot!
Step 1
Place the cookware upside down and place on the middle rack of your oven. Heat in a low heat oven (200 degrees Fahrenheit) for about an hour. This opens up the pores of the metal and prepares the cast iron to receive the seasoning. Remove from oven and allow it to cool slightly.
Step 2
Add about a tablespoon of oil to the warm cast iron. Use a paper napkin or towel to spread it around. (See the next section for which oil to use.) Cover both the inside and the outside of the cookware.
After throughly spreading, use a dry paper napkin or towel to wipe off as much oil as you can. You do not want pools of oil, or piles of oil, or even pockets of oil, because it will harden and create an uneven surface.
Step 3
Place a tray on the lower rack of the oven to catch any oil drips. Place the cookware back into the oven on the upper rack, upside down at 375 degrees. Bake for 1 hour.
Step 4
Repeat 3-5 more times to build up the surface. Add more oil, wipe off the excess, and bake upside down at 375 degrees for an hour at a time.
Which Oil Should I Use To Season My Cast Iron?
The most highly recommended oil is flaxseed oil, but this kind of oil can be expensive. Flax is recommended because it is the most unsaturated of the oils, so it oxidizes and polymerizes faster and better.
Regular vegetable oils like canola, corn, sunflower, or safflower are also fairly unsaturated and good to use.
I personally don’t like the idea of using olive oil, since olive oil tends to be on the thicker side, which can be problematic for creating that thin layer you want for good seasoning.
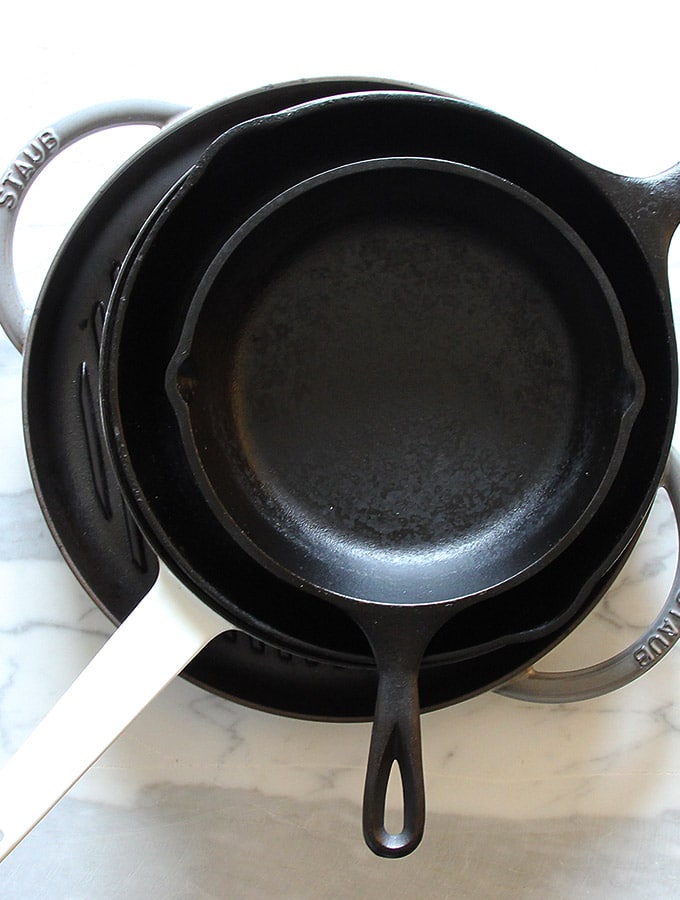
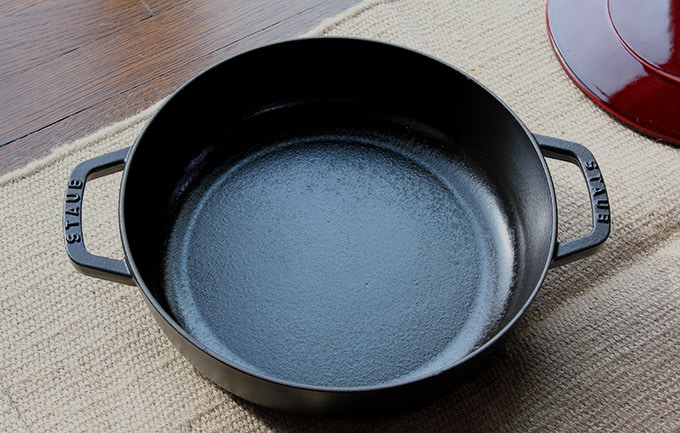
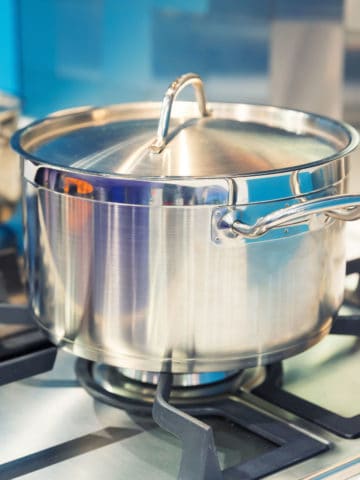
Do I Need to Season Enameled Cast Iron?
In the image below you see a Staub braising pot. This one is an enameled cast iron piece, but Staub has a very particular way of finishing its cooking surfaces. It looks just like regular cast iron right? I treat it exactly the same way in terms of seasoning after each use, even though Staub says it isn't necessary.
Le Creuset pots are glazed inside and truly do not need seasoning. The downside is that they can discolor and even crack over time.
I have a post that compares Staub with Le Creuset. Check it out to see if it is worth it to you to invest in these higher ticket cooking implements.
Personally, I love all types of cast iron.
Le Creuset Versus Staub Cookware: Why Heritage Brand Le Creuset Is Worth It!
Why You Should Re-season Your Skillet Every Time You Use It
My secret to cast iron care is this: Every time you use your cookware you re-season it. This means oiling the inside of the cookware, and reheating it on the stovetop past the oil’s smoking point.
Add this step to your kitchen clean-up, and you will be rewarded with a forever non-stick, shiny-smooth cooking surface that you can be proud of.
I personally love the moment when I set my clean cast iron cookware back on the stove. It means my kitchen cleanup is almost complete.
Start heating it on low, and then add a half teaspoon of oil. Shine the oil all over the entire inner surface of the cookware with a paper napkin. Set the napkin aside, rather than in the garbage, because you will need it again.
There is something to cherish about the elemental simplicity of using a cast iron skillet and taking care of it.Click To TweetUse medium-high heat and let it slowly reach the smoking point.
As it heats, shift the cookware around on the burner every minute or so to avoid hot spots from the flame that can damage your cookware if you are not careful.
Moving your cookware around periodically gives the entire surface of the cookware an opportunity to polymerize, which is what it’s called when the oil reacts with the heat. This is what creates that hard, shiny non-stick coating we all desire on our cast iron.
As the cookware heats up, the oil will begin to produce a mottled look on the surface. At this point, rub the oil around a second time using the saved oily napkin. This seals the deal in my opinion, and helps the surface get nice and smooth.
After all the smoking is done, meaning all the oil has burned off, you are done.
Just let that thing cool on the stovetop while you admire it. Put it away tomorrow when it’s cool.
Fair Warning
Kate! Everyone! Remember to heat that boy back up after oiling, or you’ll end up with a sticky mess, since oil attracts dust like a magnet.
Oh, if you do find yourself with an oily mess, don't throw it out the back door. Take drastic measures and get it clean. Use hot water, soap, degreaser, oven cleaner, scrubbers … use whatever it takes to remove it.
Then proceed to season your cast iron for the first time, as described above.
Maintenance And Storage
The section above on re-seasoning your cast iron every time you use it is the single most important point about maintenance.
This will keep your cooking surface smooth and strong, and every time you use your cookware it will get better and better.
If you do not have time to re-season though, what you want to do is dry the cookware well after washing it.
Do not add oil because the wet oil will attract dust, and create a sticky and ugly mess. It will also make it difficult to store your skillet.
As long as the cookware is dry and there is no obvious oil on it, store it in a drawer or cupboard just like any other thing. There is no need to protect it because it is virtually scratch-proof and indestructible.
I know you have probably seen those hanging pots in commercial kitchens or farmhouse-style kitchen setups.
By all means, if you have access to a hook, hang it. That is why almost all cast iron comes with holes in the handles. It is for hanging.
But the same rule applies. Do not keep wet oil on that thing!
Cleaning Your Cast Iron. Use Soap.
So a lot of people think that you can’t use soap (or shouldn’t use soap), and that cleaning cast iron is a big deal. It isn’t.
I use soap all the time, because I like to remove the grease and residue from the pan.
Soap can only cause you trouble if your pan isn’t well seasoned, or if you are aiming for a buildup of grime and “natural seasoning” from the food you cooked in your pan.
Yes, some people do prefer to keep their pan flavored with the previous food they cooked. These people do not want to use soap because it cleans off that special coating.
If you are not one of these people, use soap. It is not an issue.
Also, use warm or hot water to soak your pan for a few minutes before cleaning. You can go ahead and add water to the hot pan if you like. It won’t damage it.
Soaking usually takes care of anything that has caked on.
After soaking, pour out the dirty water, and scrub with a green scrubby or dishcloth. Rinse, add soap, scrub a little more, rinse, and done.
I have read that some people use course salt as an abrasive.
I hadn't tried it until a reader said it worked for her. So I gave it a go, and guess what? It worked wonders. Not only did it clear out some lingering surface buildup, it also improved the overall seasoning. As Sarah suggested, the salt added to the "seasoning history."
About abrasives. Don’t use the abrasive metal scrubbers okay. It isn’t necessary. Things don’t really stick much to cast iron, so it should not be necessary. The ubiquitous green or blue scrubbers are perfect.
After your cookware is clean, dry the inside and move on to the steps listed at the end of this post: Steps to Seasoning After Every Use
Troubleshooting Things That Can Go Wrong
#1 Flaking
If you were in the bad habit of using your cast iron without re-seasoning it, you could encounter a flaking problem.
What is flaking off is actually the surface that you created when you heated the cast iron with oil. It is a wonderful, natural coating, but you don’t want to be eating it.
If you have this problem, you will need to start from scratch and build up your cooking surface again.
See the section above: How To Season Your Cast Iron Skillet The First Time.
#2 Rust
Rust can only appear if you haven’t been showing enough love to your cast iron.
If you keep using your skillet without re-seasoning, you will wear off the protective surface and expose the metal.
In this situation, when you leave it to air dry without drying it first, it can rust.
This problem is not as serious as flaking. Simply wash your cast iron well, dry it, and re-season it using the Steps to Seasoning After Every Use listed at the end of this post to build up your cooking surface again.
#3 Hot Spots
Cast iron is a poor conductor of heat. What this means is that long-term exposure to high heat on just one part of the cookware can damage the cooking surface.
What you will see are thin spots, something that looks like it is a different color, particularly just after washing, when the iron is most exposed.
If you see this, take special care while re-seasoning after use next time to oil the discolored section especially well. Then expose a different section of the cast iron’s base to the cooking flame when heating to give it a rest.
Move the cookware around periodically on the flame to spread the heat. This is mirroring what happens in an open fire, where the flame dances and moves.
I don’t think hot spots were as much of an issue in the past. If you have an electric stove, you also many not encounter this since the heat is more spread out.
Reference
Steps to Seasoning After Every Use
-
Wash and dry the interior of your cast iron cookware
-
Place on the stove and heat on low
-
Add half a teaspoon of vegetable oil and spread over the base and sides of the cookware using a paper napkin or towel.
-
Turn up the heat to medium-low
-
When you see the oil mottling on the surface, spread and smooth it again with your paper napkin or towel.
-
When the oil begins to smoke, move the cookware around on the burner to spread the heat
-
Continue until there is no more smoke
-
Turn off the heat and allow to cool before putting away
If you liked this post, please share it with your friends, or leave a comment below.
For more Buttered Veg lifestyle content, follow me on Pinterest, Facebook, Instagram, and Twitter.

Jane Tillett
Thanks so much Andrea! My cast iron pot is now resurrected. Your post inspired me to tackle the half inch of stinky, grimy, rust and give it another try. I am going follow your advice step-by-step from today. Hope so I will get a good result.
Andrea
Hi Jane,
I am so happy to learn this! I hope you will find joy in using your cast iron pot for years to come, and never have to face anything resembling grime again 🙂
Kate
Thanks so much Andrea! My cast iron pot (which I had thrown out the "back" door) is now resurrected. Your post inspired me to tackle the half inch of stinky, grimy, rust and give it another try. I have followed your advice step-by-step three times already today, heating the pan, oiling, and finally cooling, and my pan is looking so much better already. Fingers crossed we have finally entered into a harmonious long-term relationship after several years of struggle.
Andrea
Oh wow Kate! I am so happy to hear that my advice is working for you 🙂 🙂 🙂 I shall update the post to "back" door. Uggg. Why would I think you would decorate your front entrance with a nasty skillet anyway?
Kate
Thanks Andrea! PS. I'm following both your mung bean and basmati rice recipes as we speak. I'll share my success later today!
Andrea
Awesome! Hope you enjoy it, and it makes you feel calm and balanced.
Sarah Annalise
Fabulous article, Andrea! I really appreciate the meaningful journey you take us on to understanding how to care for cast iron pans! I am grateful for mine, and also admit that I use some salt to help clean it sometimes too (which works like a charm, and may add a unique touch to the seasoning history that is experienced for the cast iron pan's life). Thank you, thank you!
Andrea
Hi Sarah. This is a super cool comment. Thanks for letting everyone know that salt works for you! I bet it does add some "special salt" to the seasoning history too. Thank you 🙂
Andrea
Hi Sarah, Wanted to let you know that I used coarse salt to remove some buildup on my cast iron cookware, and it worked beautifully! It actually improved the finish .. the special salt. I am updating the post to reflect that. Thanks so much for sharing your experience.